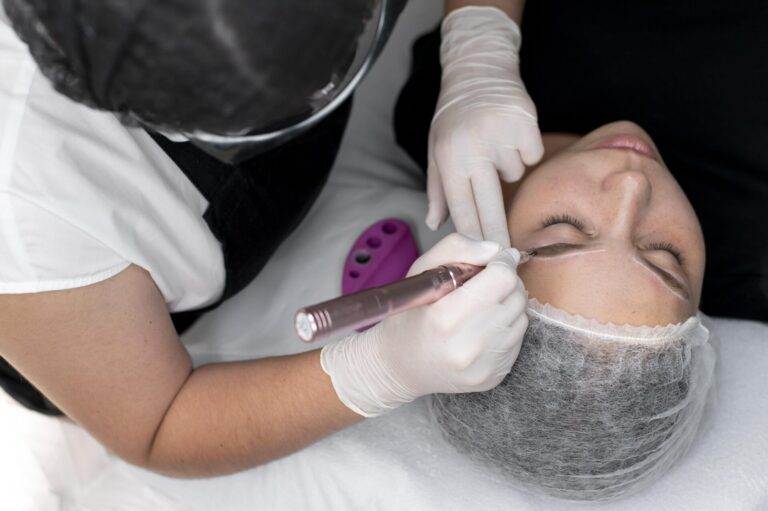
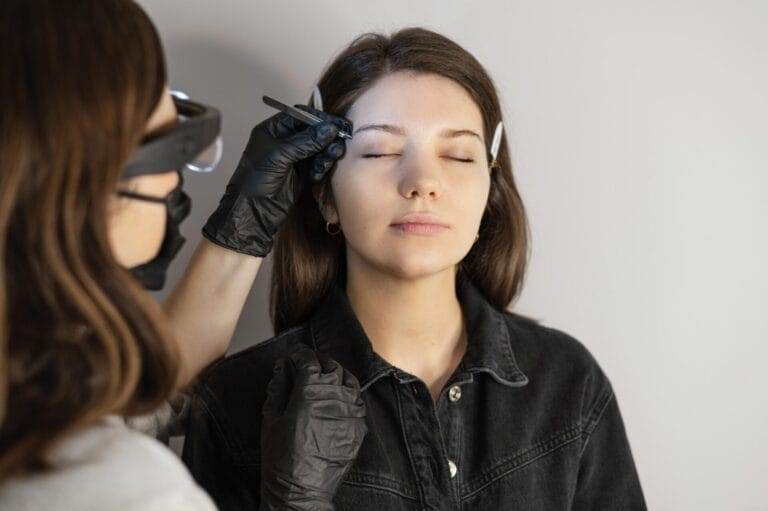
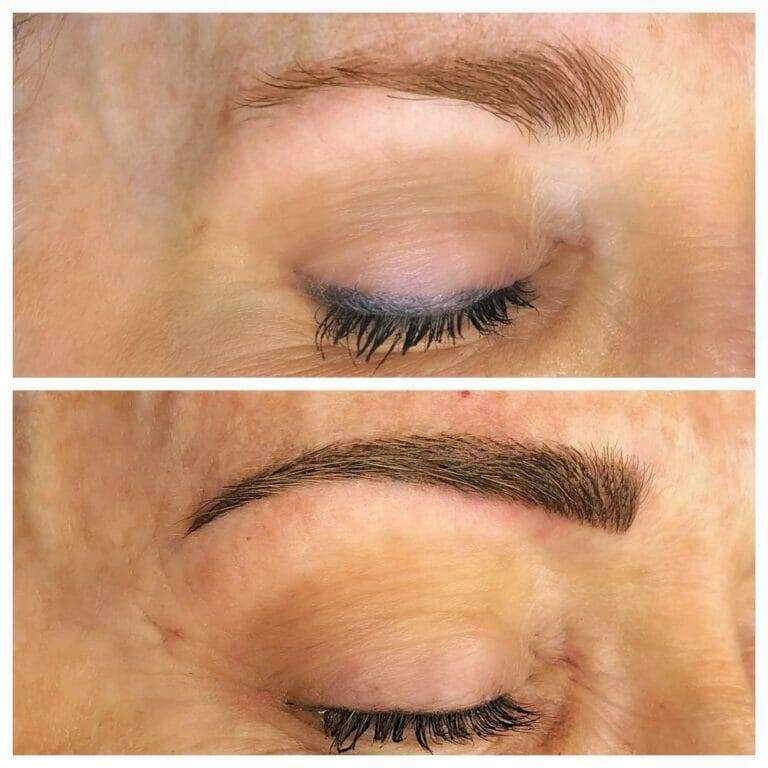
Microblading is a semi-permanent cosmetic procedure that involves the use of a handheld tool to create hair-like strokes on the eyebrows. This technique is used to enhance the shape and fullness of the brows, giving them a more defined and natural appearance. After undergoing microblading, it is crucial to follow proper aftercare instructions to ensure optimal results.
The Importance of Proper Aftercare for Long-lasting Results
Proper aftercare is essential for the longevity of microbladed brows. The healing process plays a significant role in how the pigment settles into the skin and how long the results will last. Following aftercare instructions helps to minimize scabbing, prevent infection, and promote proper healing.
By following aftercare instructions, you can ensure that your microbladed brows heal properly and retain their color and shape for an extended period. Failure to follow aftercare instructions can result in premature fading of the pigment or even infection, which can lead to poor results and potential complications.
Understanding the Healing Process of Microblading
The healing process of microblading typically takes about 4-6 weeks. During this time, the skin undergoes various stages of healing, and it is essential to understand these stages to know what to expect.
Immediately after the procedure, the brows may appear darker and more intense than desired. This is normal and will fade as the skin heals. In the first few days, scabbing and flaking may occur as the skin begins to heal. It is crucial not to pick at or scratch the scabs, as this can cause pigment loss and affect the final result.
Over the next few weeks, the color will continue to soften and settle into the skin. It is important to note that everyone’s healing process is different, and individual results may vary.
Dos and Don’ts of Microblading Aftercare
To ensure proper healing and long-lasting results, it is essential to follow the dos and don’ts of microblading aftercare.
Dos:
– Keep the treated area clean by gently washing it with a mild, fragrance-free cleanser.
– Apply a thin layer of ointment or aftercare cream provided by your technician to keep the area moisturized.
– Avoid excessive sweating, swimming, or submerging the brows in water for at least two weeks.
– Protect the brows from direct sunlight by wearing a hat or using sunscreen with a high SPF.
– Avoid applying makeup or other products to the treated area until it is fully healed.
Don’ts:
– Do not pick, scratch, or rub the scabs that may form during the healing process.
– Avoid using exfoliants or harsh cleansers on the treated area.
– Refrain from swimming in pools, hot tubs, or saunas until the brows are fully healed.
– Do not expose the brows to direct sunlight or tanning beds, as this can cause fading and discoloration.
– Avoid using makeup or other products on the brows until they are fully healed.
How to Clean and Moisturize Your Microbladed Brows
Proper cleaning and moisturizing are crucial for the healing process of microbladed brows. Here is a step-by-step guide on how to clean and moisturize your brows:
1. Gently cleanse the treated area with a mild, fragrance-free cleanser. Use your fingertips to create a lather and rinse thoroughly with lukewarm water. Pat dry with a clean towel.
2. Apply a thin layer of ointment or aftercare cream provided by your technician. Use a clean cotton swab or your fingertips to gently massage the product into the skin. Be careful not to apply too much pressure.
3. Repeat this process twice a day, morning and night, for at least two weeks or until the brows are fully healed.
Recommended products for aftercare include gentle cleansers, such as Cetaphil or a mild baby shampoo, and ointments or creams specifically formulated for microblading aftercare, such as Aquaphor or a specialized aftercare balm.
Avoiding Sun Exposure and Other Activities After Microblading

Sun exposure and certain activities should be avoided during the healing process of microblading to prevent complications and ensure optimal results.
Direct sunlight can cause the pigment to fade and discolor, so it is crucial to protect the brows from the sun. Wear a hat or use sunscreen with a high SPF when going outside. Avoid tanning beds as well, as they can also cause fading and discoloration.
Activities that cause excessive sweating, such as intense workouts or saunas, should be avoided for at least two weeks. Sweat can interfere with the healing process and cause the pigment to fade prematurely.
It is also important to avoid swimming in pools, hot tubs, or saunas until the brows are fully healed. The chemicals in these environments can irritate the skin and affect the healing process.
Tips for Minimizing Discomfort During the Healing Process
The healing process of microblading can be uncomfortable for some individuals. Here are some tips for minimizing discomfort:
– Apply a cold compress to the treated area to reduce swelling and soothe any discomfort.
– Take over-the-counter pain relievers, such as ibuprofen or acetaminophen, as directed by your healthcare provider.
– Avoid touching or rubbing the treated area, as this can cause further irritation.
– Sleep on your back to avoid putting pressure on the brows while they heal.
– Avoid hot showers or baths, as heat can increase swelling and discomfort.
How to Prevent Infections and Other Complications After Microblading
Preventing infections and other complications is crucial for the healing process of microblading. Here are some tips to help prevent these issues:
– Keep the treated area clean by following proper cleaning instructions.
– Avoid touching the brows with dirty hands or other objects.
– Do not apply makeup or other products to the treated area until it is fully healed.
– Avoid swimming in pools, hot tubs, or saunas until the brows are fully healed.
– If you notice any signs of infection, such as increased redness, swelling, or pus, contact your technician or healthcare provider immediately.
Maintaining Your Microbladed Brows: Tips and Tricks
After the healing process, it is important to maintain your microbladed brows to ensure they stay looking their best. Here are some tips and tricks for maintaining your brows:
– Avoid excessive sun exposure and use sunscreen with a high SPF to protect the pigment from fading.
– Avoid using exfoliants or harsh cleansers on the treated area, as they can cause the pigment to fade prematurely.
– Use a gentle cleanser and moisturizer specifically formulated for microbladed brows to keep them clean and hydrated.
– Avoid using makeup or other products on the brows, as this can cause the pigment to fade and affect the shape.
– Schedule regular touch-up appointments with your technician to maintain the shape and color of your brows.
When to Schedule Your Touch-up Appointment for Optimal Results
Touch-up appointments are necessary to maintain the shape and color of microbladed brows. It is recommended to schedule a touch-up appointment 4-6 weeks after the initial procedure.
During the touch-up appointment, your technician will assess the healed brows and make any necessary adjustments. This ensures that any areas where the pigment may have faded or not taken properly can be addressed.
After the touch-up appointment, it is recommended to schedule annual touch-ups to maintain the shape and color of your microbladed brows.
In conclusion, proper aftercare is crucial for the optimal results and longevity of microbladed brows. By following aftercare instructions, understanding the healing process, and taking necessary precautions, you can ensure that your microbladed brows heal properly and stay looking their best for an extended period. Remember to schedule regular touch-up appointments to maintain the shape and color of your brows.
If you’re considering microblading, it’s important to know how to take care of your eyebrows afterward to ensure long-lasting results. However, if you’re looking to get rid of old tattoos without lasers, Tat2Away at Embellish PB might be the solution for you. This innovative tattoo removal technique is featured in an article on their website. With Tat2Away, you can say goodbye to unwanted tattoos and start fresh with a clean canvas. Check out the article here to learn more about this exciting tattoo removal option.

